
Makeblock is a company that makes simple robots. mBot and the mBot ranger are two of their most popular products. Both kits are simple to assemble and take about 2 hours to complete. Once assembled, they come with a number of pre-installed software that you can use. However, the majority of people who buy these kits desire to be able to utilize their own robots.
Here is where the mBlock software comes in. mBlock is a block software that enables you to generate functionality for your robot using Scratch Programming. Essentially, if you want your robot to do anything other than what it was designed to do, you must use mBlock.
Where Can You Acquire mBlock?
Check that you’re using a compatible operating system. You can use Windows XP or, later on, Windows. Nevertheless, Windows 7 or higher is advised. It is suggested that you use the most recent version of OS X on a Mac. There is no installer package for Linux at the moment.
You must download mBlock once you have determined that your operating system is capable of running it. When the file has finished downloading, run it and install it like any other programme. The installation process is extremely simple.
What Is mBot Ranger?
mBot Ranger is an advanced version of mBot that includes three pre-programmed forms for three times the fun. Ranger provides STEAM education to children in a simple and fun way, from construction to operation to programming. Ranger also introduces children to robot programming, progressing with them as they grow and develop their problem-solving skills.
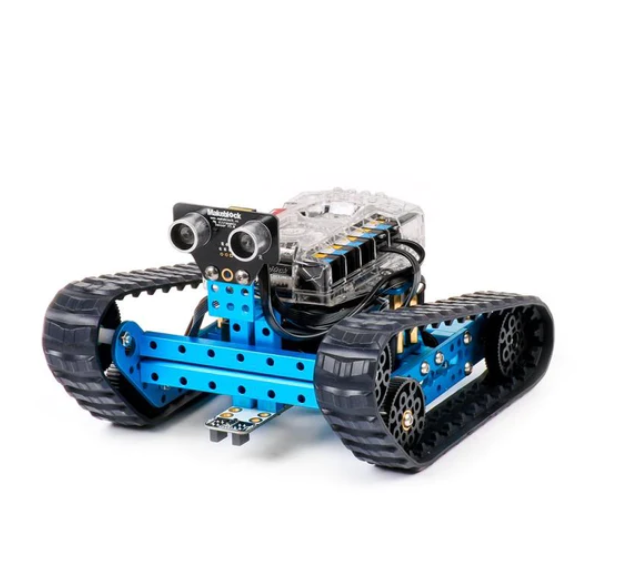
mBot Ranger is made up of approximately 100 mechanical and electronic components. There are three pre-programmed forms: the three-wheeled racing car Dashing Raptor, the tank-like Off-road Land Raider, and the self-balancing Nervous Bird. mBot Ranger can beat any terrain, whether it’s a muddy track or a difficult arena.
How Do You Configure mBlock For Your Robot?
In addition to the desktop mBlock software for desktops and laptops, MakeBlock has created an app for Android and iOS that allows you to control the mBot using tablets and mobile devices. The mBlock app is a game-based programming app that pushes students to write increasingly difficult code. There is also the option to write code in the app’s block-based programming environment and then send it to the mBot via Bluetooth.
These instructions apply to mBot and mBot ranger robots that use the USB input on their boards. There are versions of these bots that connect via Bluetooth or 2.4 GHz wireless signals.
Follow these steps to load a programme onto the robot via USB.
- Connect your computer’s USB cable to the bot’s USB input and power on the robot. For the computer to recognise the connection, the robot’s power must be turned on.
- Launch mBlock
- Go to the “Boards” menu in mBlock and select “mBot (mCore)” from the drop-down menu. If you’re using mBot Ranger, select “mBot Ranger (Auriga).”
- We want to make absolutely sure the firmware is up to date (if you don’t want the most recent firmware, skip this step). Select “Connect” and then “Upgrade Firmware.”
- Once the firmware has been installed, ensure that the Makeblock extensions are enabled. Check that the “Makeblock” option is checked under “Extensions.”
- This gives you access to the Makeblock libraries that are specific to mBot robots. There are a number of other libraries listed as well. You can turn any of these on or off at any time. If you want to use Arduino libraries, for example, go to Arduino, and you’ll notice a lot of new functions appear in the “Robots” section under the “Scripts” tab in the middle of the programme.
- Your robot should now be ready to receive your programme. You can now begin connecting your blocks to create the functionality you desire. While the robot is turned on and connected, it will be able to accept your code and run it in real time. The green flag and red stop sign icons are used to start and stop the programme.
- Once you’ve obtained the desired code, you can upload it to your mBot by selecting the “mBot Program” node in your programme.
- This will launch the C programme on the mBlock software’s right side. To save the programme to the robot’s storage, click the “Upload to Arduino” button.
- Your robot should now be able to run the programme you just uploaded to it.
Take Away
Makeblock makes programming robots a breeze. The mBlock installation procedure is straightforward. The installation of mBlock and your robots is straightforward. The upload procedure is also straightforward. The days of writing all of your robot’s code by hand are long gone. It is important to note, however, that you can still modify the C code, if necessary, by simply clicking on the mBot programme node and editing it. This enables an extremely versatile workflow.
